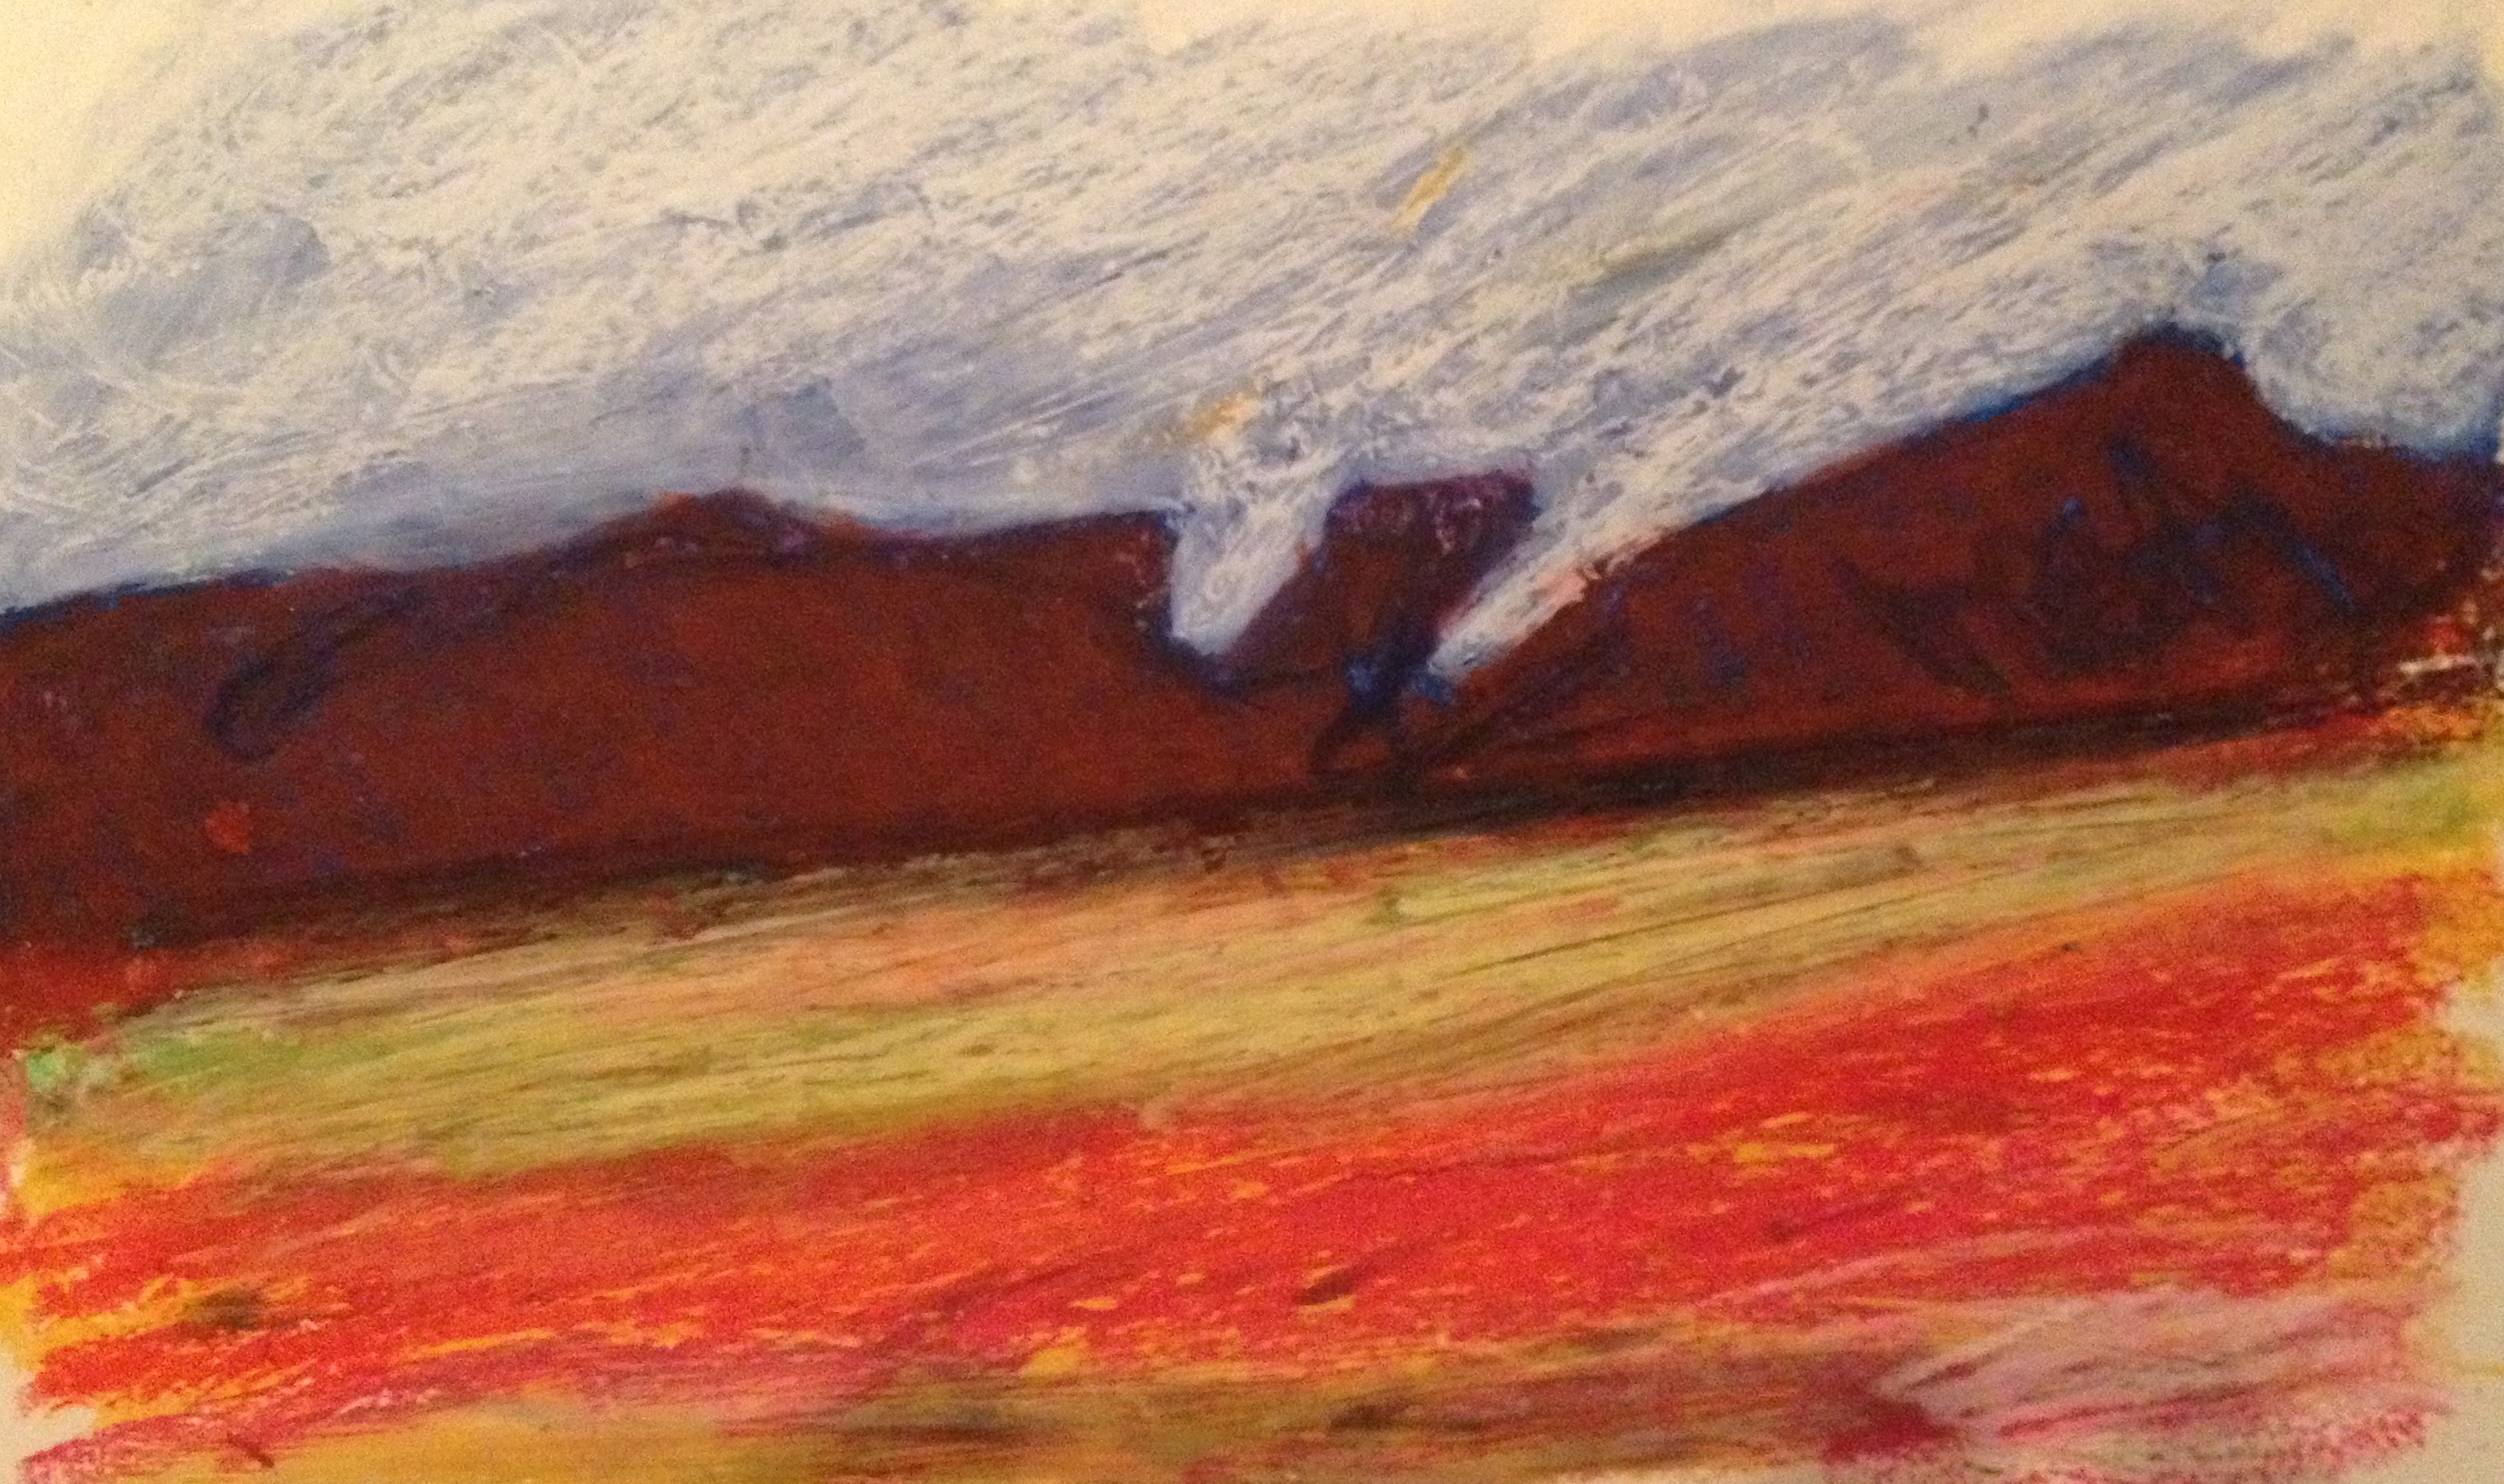
About six months ago I did something I have never done before. At least not without arm twisting and a grade attached. I started sketching out-of-doors regularly. I did this to explore a new medium and because my schedule is so chaotic I don’t have much time to work in the studio on mono-prints. The process also allowed me to develop work while I traveled.
I am almost finished with the first book. Which I am amazed to have achieved, it itself. And I am even enjoying the process and exploration, and the new medium.
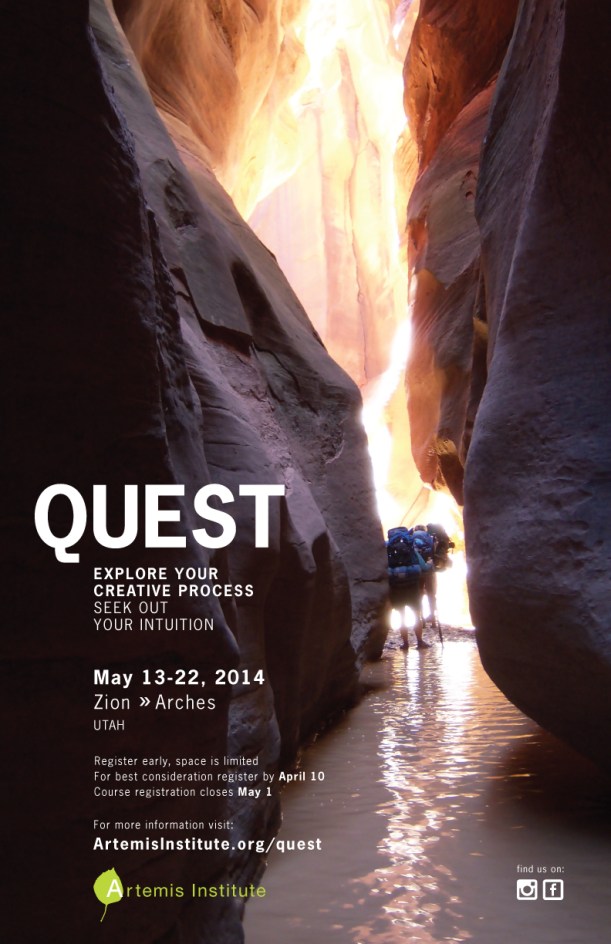
Here is one of the sketches, made while I was teaching Quest, in Southern Utah.
I would love to know what you think. Send me a note.
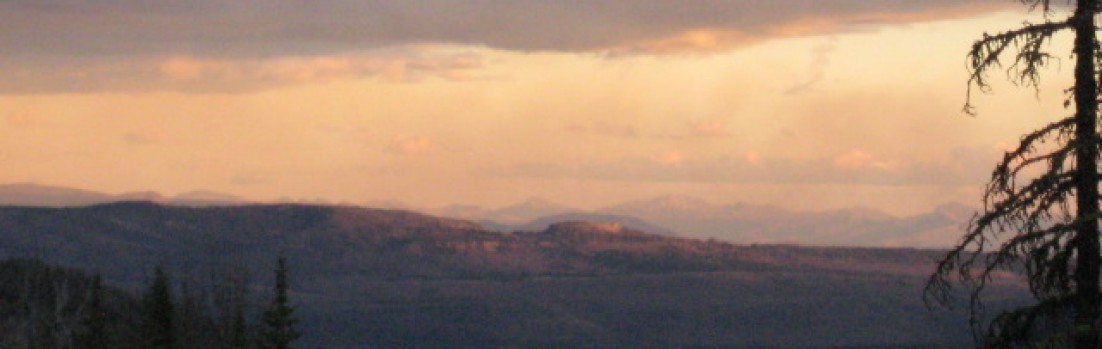
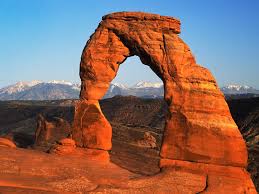
I have been dreaming of Utah these past nights. Not those kind of dreams you have when you are wishing you could go somewhere. Not the melancholy type. But the kind of dreams that are had from experience, when your subconscious is so full of an experience that it pours out of you after you have had it. The dreaming is rich of the landscape. They are not full of saga or people, or any far-fetched narrative. They are full of the place, the feelings, textures, smells, and colors. Every night after I close my eyes I relive the place. The overwhelming beauty.
I have never had such realistic and vivid dreams before of a real place, portrayed in a true and actual dynamic. I am wondering what this means for my psyche. Have I found my spirit home? Or was the experience simply overpowering that my subconscious is relishing the intensity of the memories?
I have been in many places across this landscape of Utah, visited it’s canyons, rivers, plateaus and rock formations. But never for as long as I will when leading Quest. So today I begin the great “count down” for departure. In planning the trip I referred to the Utah Gazeteer, map book extraordinaire. But the scale of the plateau of southeastern Utah is immense and leaves me with only a fragmented sense of this expanse of landscape. I wanted a map that would guide me across this place that I could look at whole. I chose a map to order sight unseen, yet thinking it would reveal the mystery as a whole . Today as I review the readings the program participants and I will read encamped on some mystical spot of sandstone I unfold the map. Ha! The map covers the southern edge of the area in question. But the northern portion if the area I am interested to study is not to be found . Looking back to the map guide selection , you know the little overlapping boxes that denote which map covers what area, I realize the map I want does not exist! Maps ring the area in question , but not the place. And that is the magic of the upcoming journey. Seeing, feeling, touching, smelling for ourselves that power of a landscape we do not know from reading a map or previous experience. Soon the days will be of this journey, dust trailing behind us as we get to know the mystery.
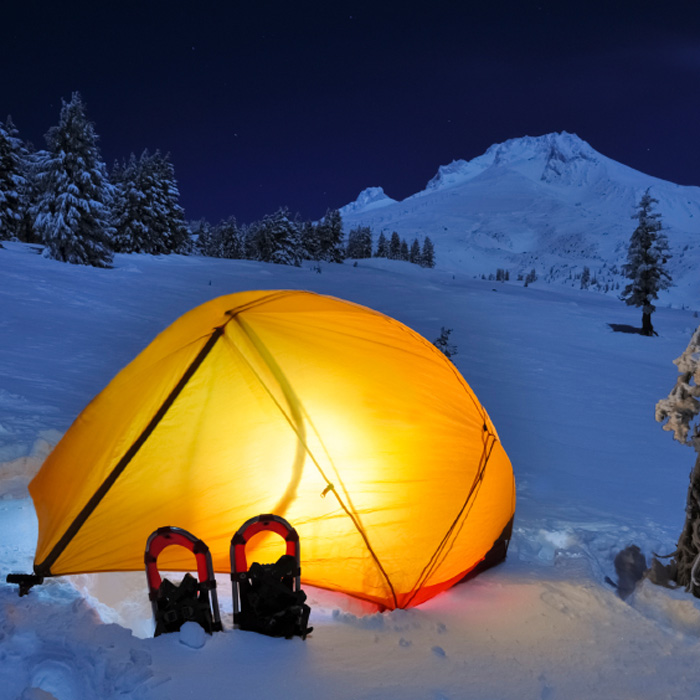
If you are joining us for Remote Studio or Quest– Utah you do NOT need to have a tent. We have enough for the trips. But if you are thinking that you would like to invest in one for the program (if you are attending Remote Studio you may want to camp on the weekends) or that you want one not to have one for the future, following are some tips I have learned over the years.
looks comfy, right? Don’t expect to find a pillow in the backcountry…
1. A car camping tent is not really the best for backcountry camping, but a backcountry tent can always work for car camping.
3-season mountain hardware tent with vestibule and end entry
2. Unless you live all the time and camp all the time in a temperate climate you should have a 3-season tent. And if you live in Alaska or want to trek in Nepal, you would need a 4-season tent.
3. A few years ago the tent manufacturers came up with a concept called an “integrated fly” for 3-season tents. I think the idea is that these tents weigh less. I have not seen these perform as well as the traditional fly with tent system. What’s a fly, you are asking? Take a look at the images of tents here. The fly is the outer layer of the tent applied after the primary tent enclosure/structure. The fly is like the rain jacket or coat of a tent. It keeps the bad weather from getting to you. And the fact that it is on the outside of the frame structure means that it is held away from the surface of the primary enclosure. In nasty weather, which happens often enough in the Rockies or in the shoulder seasons most anywhere, you want a 3-season tent that has a separate fly.
Side entry with vestibule. Mountain Hardware
A very large vestibule tent from Big Agnes, a new idea, could be useful if you need to “cook” in the vestibule, But not in bear country!
4. A few more things about the tent fly. If its cold and rainy you want it. If its not you can leave it off and let your tent breathe, and you get to watch the stars. Worst case scenario if the weather changes you can snap it on in only a few minutes. (Unless you are totally convinced that the weather is going to be perfect when you are out in the backcountry and decide you can leave it at home or in your car.)
5. Quality of the tent. Walmart or a real technically designed tent? Seriously? If you are car camping or camping in your friend’s backyard you can last in a Walmart tent, or other “cheap” tent. But if you are hiking for miles into a place that has no alternative accommodations, not even a cave, you want to spend the cash to get a good tent. Why? Because they are built and designed to stand up in bad weather, and to last a long time. If you take care of the tent. I have watched cheap tents buckle under the weight of a spring snowstorm and almost blow away in the wind on the edge of the Great Salt Lake. I don’t think anyone was enjoying life inside those tents.
Mountain Hardware, Drifter . You could easily end up camping in snow like this in early June in the Northern Rockies, be prepared.
6. Tent profile: The “taller” the tent the more challenged the tent is in adverse weather, snow or wind. So, while the idea of being able to stand up inside your 3 or 4 person tent is cool when you are in the store, I recommend a lower profile tent. Being able to sit up is nice, and good enough.
7. Shape of the tent? Shape is relative to use and how many are using the tent and how well you know the person you are sharing the tent with and how much weight you want to carry on your back. Consider all of these conditions when considering the shape. If its low in profile and thin in plan you are going to want to be pretty comfortable with your tent mate.
Make sure you check the size of the footprint and the head height.
7. How many doors? How many vestibules? This question relates to the question above. There have been times when I have slept in tents with folks I don’t know very well. I hate climbing over them to get in and out of the tent. So, consider that issue when you are looking at the tent layout. Also, double vestibules and openings allow each person the ability to simply slip out of the tent from their “side”. Long, slender tents with an end opening are nice. But they seem the best when you are intimate with the person you are sharing your tent with. Because most of the time you need to shimmy in and out of the sleeping bag and tent to get outside. One more thing about about multiple openings/vestibules. If you travel with a dog and you don’t want them in the tent with you, they can sleep in the vestibule. And if you are camping in a place that is not storming or has bears you can leave some of your gear in the vestibule and not in the tent. And lastly, if you are experiencing terrible weather you can heat water in your vestibule if the vestibule is big enough.
8. Weight of the tent?? Weight is certainly an issue. The more highly engineered tent, with the latest fabric and poles is going to be lighter than the others. But usually they cost more, too. So while you don’t want the heavy and inexpensive Walmart tent, you still want something lighter and affordable. Consider the issues above, how you are going to “live” in your tent, and where you are going to be living and then also consider the weight. There will be several tents of different weights to choose from even after you have used the above criteria to narrow your decision.
Another Big Agnes, 3 season, double vestibule tent. Removable Fly. Tent has screen above for night watching.
9. Color. Yes, color. I didn’t think too much about color of the tent when I bought my “blends into the landscape” colored tent. But here are a few things to consider if you actually have a choice in color. There is conflicting data on whether color makes a difference to a bear. Some say a brighter color attracts them. Some say they don’t care. I have no experience to offer regarding this issue. But what I can say is if you are having an emergency and need to be rescued, or send someone out for help in changing weather conditions and they need to find you and the tent again, a brighter color can help for identifying and locating the tent in the back country.
10. Best tent manufacturers? There are many. Marmot, Big Agnes and Mountain Hardware to name a few. They all make their tent details and shapes a bit differently. But are of a good quality and well engineered. And just about any tent you are going to find sold with these three will be similar quality. You can pay full price, or you could do a little research and figure out what you are looking for (size, type, weight, etc) and then buy one online at a site such as backcountry.com. Check them out for other gear, too.
11. Don’t forget the ground cloth. It goes between the tent and ground. Should be light weight. There is a specific ground cloth for the tent you buy. Well worth it when it is pouring rain and the water is rushing under your tent. The ground cloth can be turned up on its edges to ensure that water runs under it, and not into the tent. (true story).
The area of Utah we will be traveling through is considered high desert, elevation at 4,000-8,000 above sea level. Which means that it is typically hot during the day, and cools of at night. The humidity is low or none at all. We will be out in open terrain that does not have a lot of cover of wind breaks making any change in weather dramatic. Rain can be particularly impressive and dangerous depending on where we are. We will consider the weather patterns every day to best prepare for what to bring and commitment to hikes. These conditions also necessitate layers (see the list below). In the morning it could be mid 50s and will warm up to 80s, and by evening cool back down again. The normal high is 83 for the day (with extreme high at 102) and the normal low is 52 (with an extreme low of 22) . For the month of May there is an anticipated 8 days above 90 degrees. Which means that the weather should be perfect for our trip. Not too hot, not too cold. But the sun will be extreme.
First. Since we will not be backcountry camping, you do not need a large pack. Instead, it would be best (and less expensive if you need to purchase new) that you fit everything into a duffel bag, except your day pack. Don’t bring a different set of clothes for everyday, plan on rinsing or washing as needed along the way.
Below is a list of the things you should bring. If you need more information or description on an item read through this post for the items in the list. This is our recommendation for the most comfortable trip. Edit as you need. If you are in a place that has a second hand store for outdoor gear, these can be the best places to pick up many of these items at a greatly reduced price. Or you can borrow some of the gear from a friend, such as head lamps, and rain gear. But you need to know what you are looking for. If you want to read about gear check out this article in Backpacker magazine or you can search for gear reviews on the internet.
Shoes. Primary: hiking boots or hiking shoes, water sandals, an old pair of hikers for walking in water.
3 pair of shorts
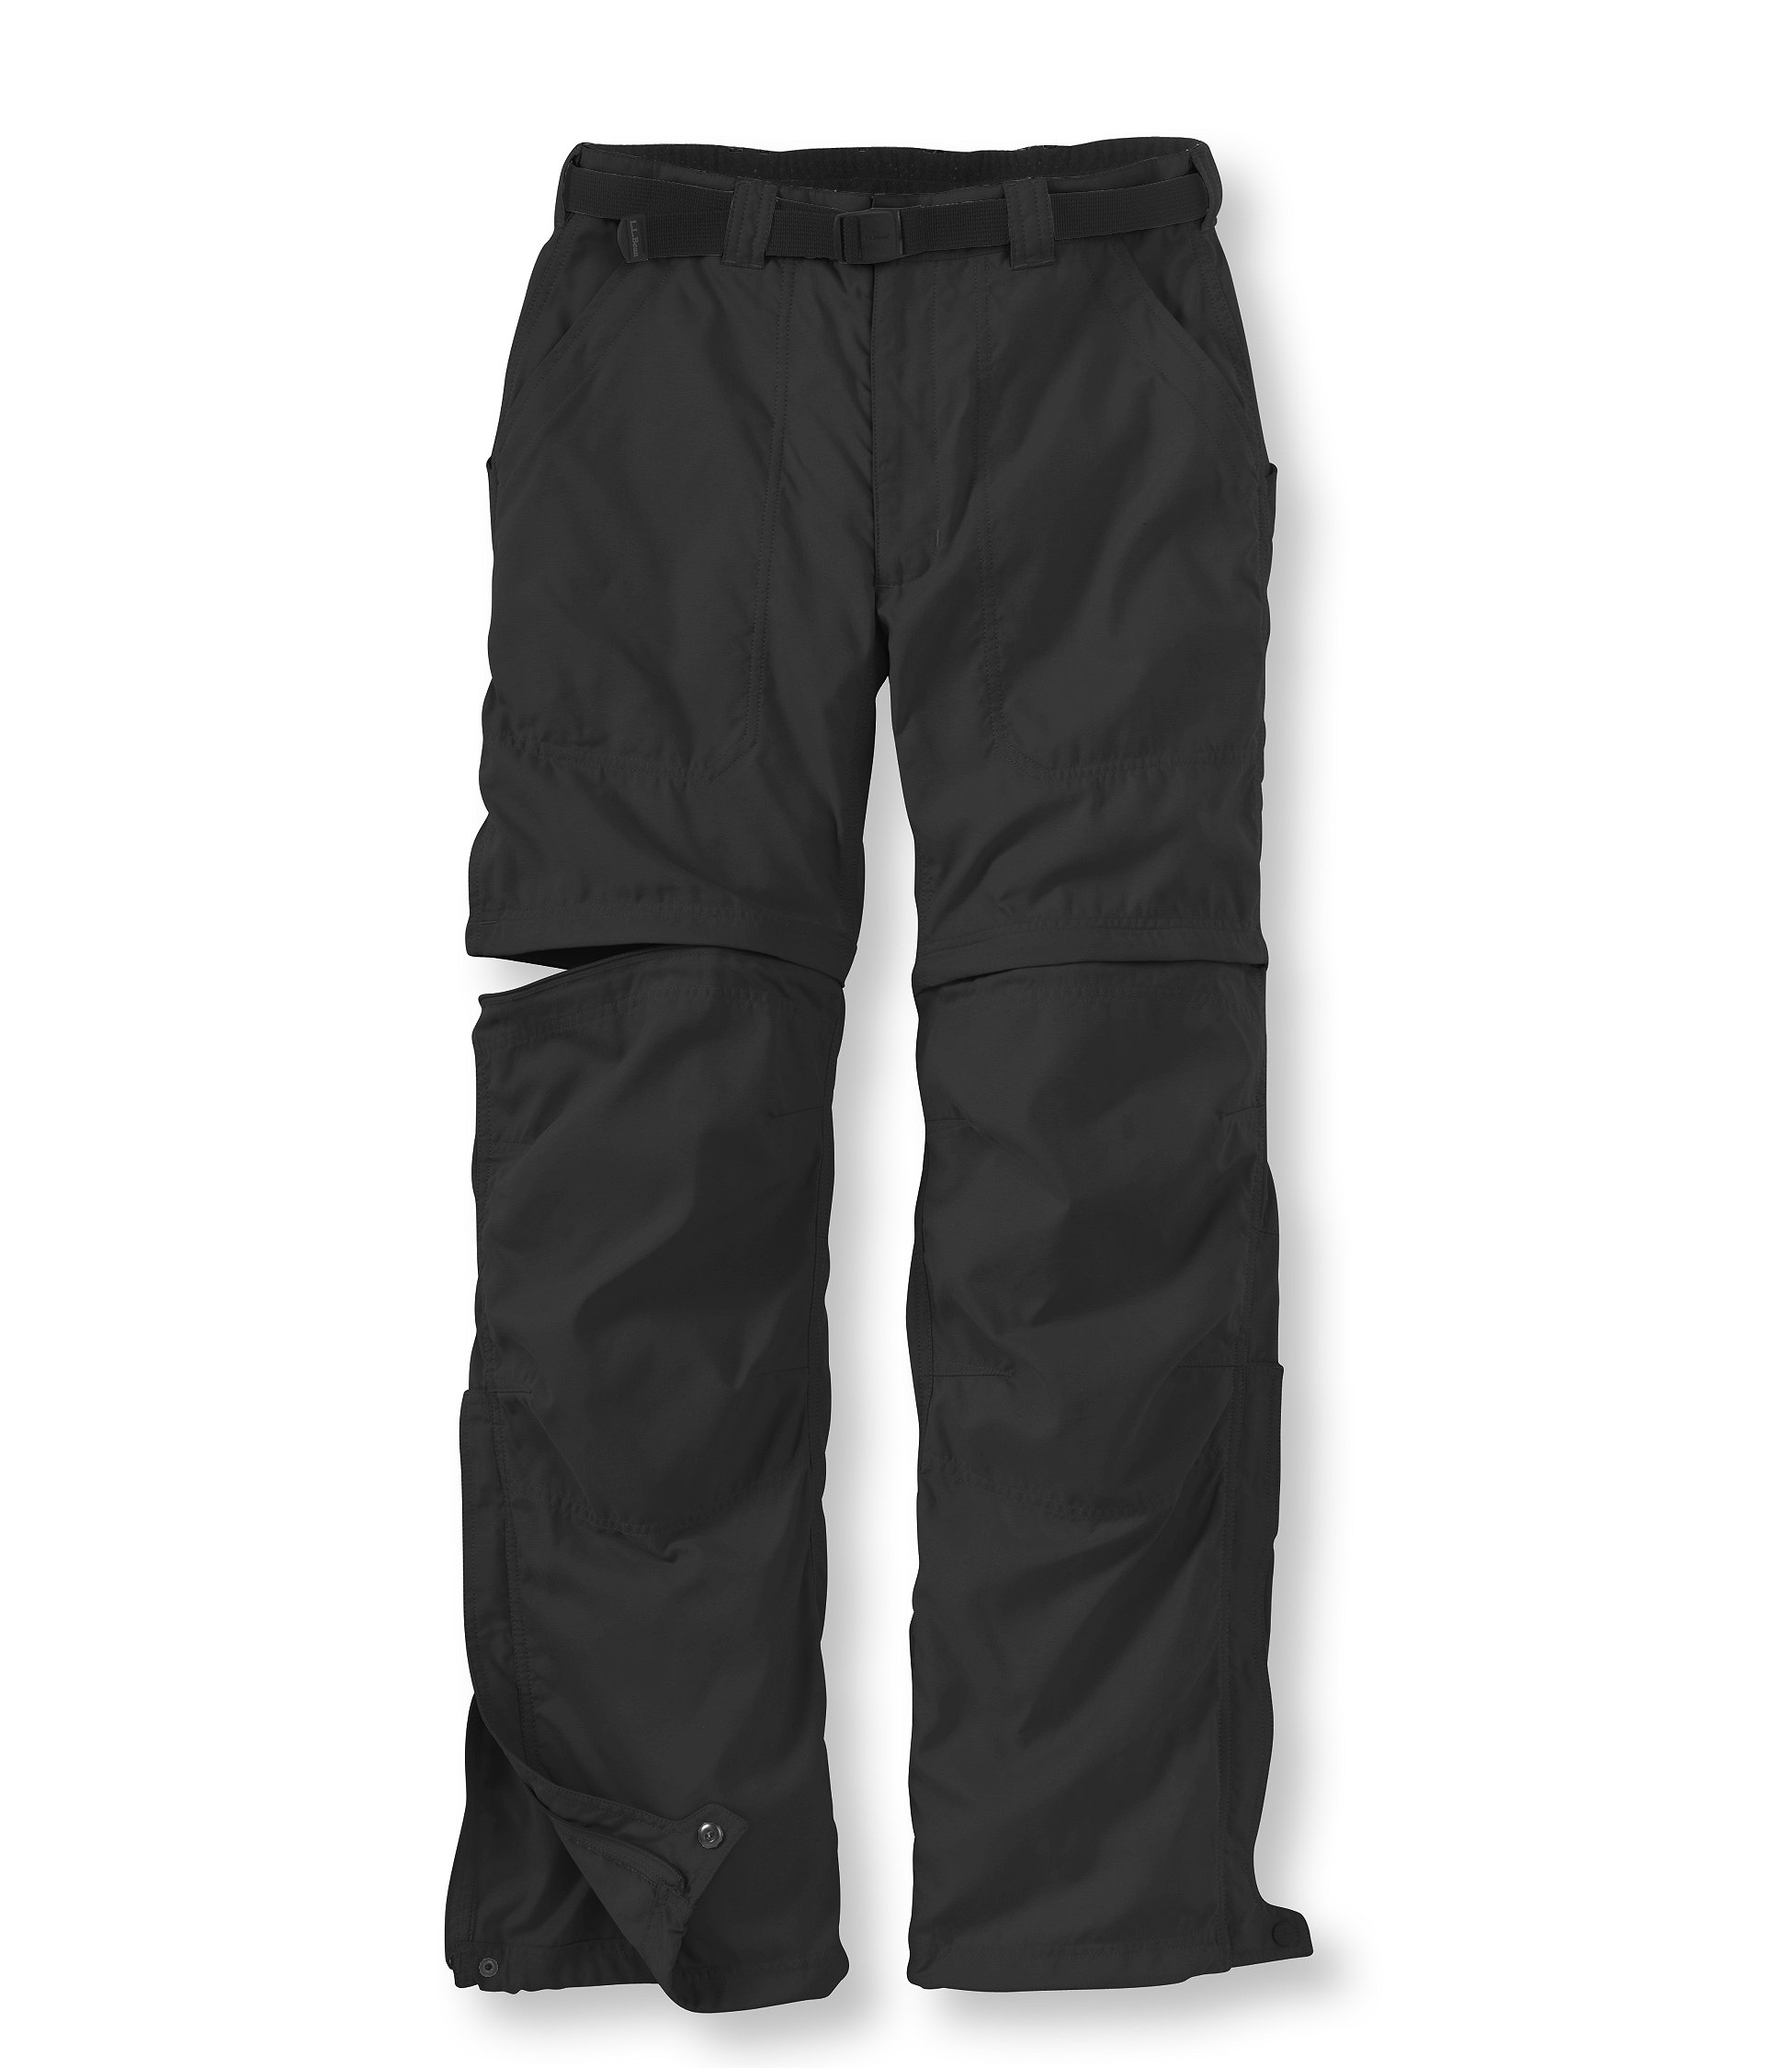
1 pair of light, quick dry, pants (could have zip-off legs)
Hiking quality socks. 8 pair, plus 1
5 Short sleeve t-shirts
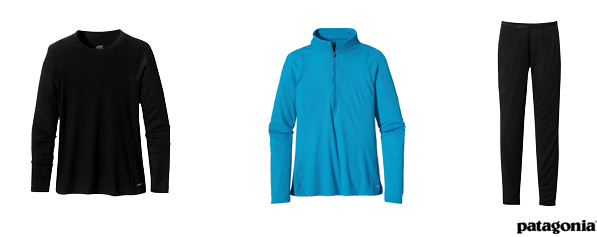
3 long sleeve t-shirts, or long sleeve base layer
1 long sleeve light weight, quick dry, button up
bathing suit
rain gear. at least a jacket with hood
hat for sun
light weight jacket with some insulative quality
light weight thermal base layer bottoms
1 mid-weight layer
head lamp
sleeping bag
day pack
towel (for showering while camping)
sunscreen
hiking poles (optional)
pocket knife
bathroom kit
water carrier, bottles or bladder
thermal mug
compass
Smart phone, with camera (if you don’t have one, let me know)
Sketch book with pens, pencils, small water color kit
Following is a description of the gear and an explanation for their use:
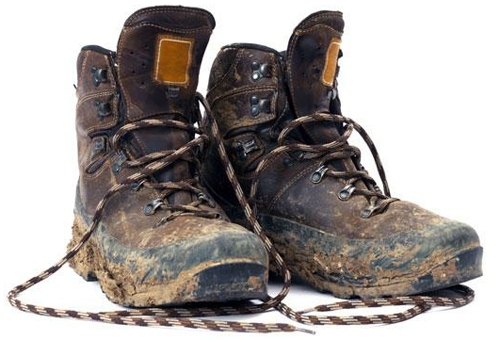
Old Boots
SHOES
Why so many? We will be on our feet a lot, and in various terrain and conditions. You can certainly take the trip in one pair of shoes, but I do not recommend it. Read on to understand the strategy:
Hiking Boots/Shoes: We will hike on dry and wet trails. For this reason you will be best served if you have a pair of good hiking shoes for dry trails and a second pair of older hiking shoes for water hikes in canyons. The water hikes with the silt of the sand ruins a good/new pair of hiking shoes. So you will not want to hike in water in dry trail boots. Also, you will want closed toe shoes when we hike in water because you will hike in various conditions from sand to rock. Hiking in water can be its own sort of additional challenge from dry hiking. The choice or low hikers or taller boots is up to you. Here are some considerations: If you have weak ankles you want a taller boot for support over the length of hike. You may also want taller boots to protect you from debris getting into your boots or scratching your ankles. However, if these issues don’t concern you than a shoe type hiker could work. Look for brands such as Garmont, Vasque, Oboze, or Merrell if you are buying new. Please break in your shoes before you come so that you know your shoes fit and you will not get blisters. Make sure you put some real miles on the boots, at least 4-5 after they are broken in. Take the shoes outside and try to find some terrain to walk on. You will not know if the boots really fit until your feet sweat and swell in the boots.
Hiking Sandals: Simply put, at the end of the day you may want to have a different pair of shoes to wear. And for some people, when on developed trails, hiking in sandals works just fine.
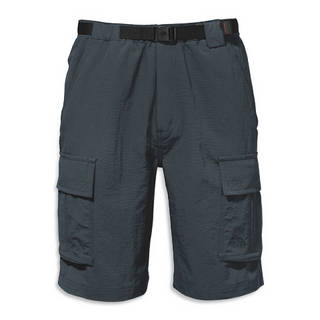
SHORTS AND PANTS
We recommend that you have lighter weight, quick drying shorts. You can double up if you want and buy a pair of pants that have zip off legs. These are great in changing weather conditions. Or bring 3 shorts and one pair of pants. There are even hiking skirts if you prefer. Quick dry is valuable not only for wearing in changing weather conditions, but also to dry quickly if you are sweating or after being washed by hand. Denim is NOT recommended for the trail for the reasons mentioned above. They are heavy, thick, hot and take a long time to dry. Save them for the arrival and departure days of your trip. Brands to look for include Columbia, North Face, and Patagonia.
HIKING SOCKS
There are socks and then there are hiking socks. Normal “athletic” socks are not durable and do not have the reinforcing that a hiking sock has. Hiking socks cost more but last longer. They are developed to work on the trail and be comfortable for miles. Typically made from a wool or other wicking fabric, while athletic socks are cotton and stay wet once you sweat in them. If you have no hiking socks and the total cost it too much for 8 new pair of hiking socks, get at least 3 or 4 and bring the best socks you already have. Socks can always be rinsed along the way. Brands to look for: Smart Wool, Thorlo. Here is a great link to a review for socks for warm weather: http://sneakerreport.com/news/the-10-best-hiking-socks-for-warmer-weather/7
Why the “plus one”? Because I have found that hiking in water, which the sand and silt ruins your socks. You can dedicate a pair to these experiences. And once you are home try to revive them in the washer.
Liner socks: If you are prone to blisters, or have never hiked a lot, I recommend 1-2 pair of sock liners. These are light weight socks and they allow your feet to move freely within the shoe without rubbing blisters onto your feet. (see the image above, to the right).
T-SHIRTS AND BASE LAYERS
As stated at the beginning, being prepared and dressed well for the hikes and the trip requires layering. We will start the day in cool weather and within a few hours it will be quite warm, and the weather conditions could shift during the day. The base layer is the one closest to your body. In this instance it could be a short sleeved cotton t-shirt (or tank top) or a light weight thermal. Bring a selection of short sleeves and long sleeves to layer and adjust to the conditions. I also recommend one pair of base layer bottoms for the cooler nights. 55 degrees and breezy can feel quite cool. Brands to look for: Patagonia, L.L. Bean, Columbia.
MID-WEIGHT LAYER
This is what we typically recognize as Fleece. You probably have something that will work. But don’t use a sweatshirt, they are typically cotton and like, denim, heavy and difficult to dry quickly. If you prefer, you could bring a quilted jacket, as described below, and may not need the mid-weight layer. This choice should be made when thinking about how cold you could get in the early morning or evening in mid-50s temps. Think about layering….
RAIN GEAR
I cannot say enough how valuable a hooded rain jacket can be for such a trip. This item is one of those that you may bring and never wear, but if you need to wear it, it could make a considerable difference in happiness and health. I do not recommend a cheap jacket. I have watched a participants gear shred off them before on a hike because they brought cheap “plastic” rain gear. It is best to have a jacket that is more water proof than less water proof (or more breathable) because if we actually need the gear we will need it to STAY DRY and WARM. (If we are in a light rain, the sun will come out and we will dry quickly.) The hood is critical in the instance we need to stay dry. These jackets also work well as a wind shell. This jacket can also serve as your outer layer over a mid-weight thermal, providing the best warmth in the evening, I am not convinced you will need rain pants. Usually the quick-dry pants work well enough. But if you have some, and they fit in your bag, why not bring them.want to learn more: http://www.outdoorgearlab.com/Rain-Jacket-Reviews Brands to look for: Columbia, Mountain Hardware, Marmot.
INSULATING JACKET
There are a few different types of light weight jackets. One is more of a shell that has some wind-stopping capabilities and rain repellant. The other is quilted, very light weight and is either down filled or primaloft. (Sometimes these are caller down sweaters.) Either can be full zipped or half zipped. I prefer the light weight filled one because it can be an outer layer or be worn below your rain jacket it is it cold, wet and rainy. But the choice is yours, and may depend on what you already have. Brands: Marmot, Patagonia, North Face.
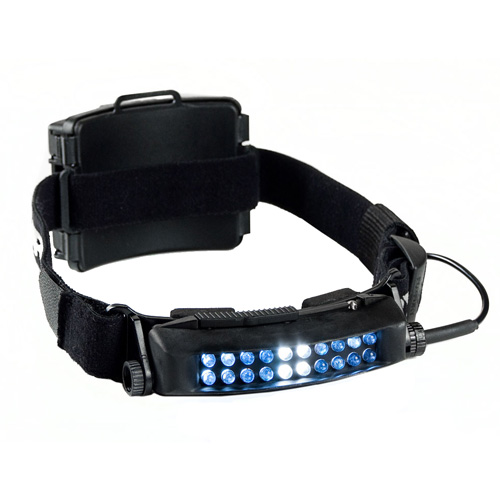
HEAD LAMP
Head lamps are better than flash lights because they leave your hands free. And if we need to hike in the dark, or cook in the dark (always be prepared for an emergency and the unexpected) a head lamp more easily lights the way.
SLEEPING BAG and MAT
We won’t experience terribly cold temperatures during Quest. If you have a decent sleeping bag it will work just fine. The sleeping bag needs to be in a compression sack to save space and make it easier to carry and move around. If you need to buy one consider these details: primaloft or down. When down gets wet it take a long time to dry. Bags are rated by the minimum temperature you will experience. A 30 degree bag would work just fine. If you want to make sure you are warm in future cold temperatures I recommend a zero degree bag. I like a mummy bag because it minimizes the area that your body needs to heat. Also, bags are sized relative to your height. Brands to consider: Marmot, Mountain Hardware, Sierra Designs.
Also, you are going to want a mat to put between you and the ground. These insulate you from the ground if its cold, keep you more dry if its raining, and comfortable on a hard rocky ground (where we will be camping.) These are compressible, too. And come in multiple sizes and thicknesses. I use a Thermarest.
Learn more about sleeping bags and compression sacks, check out this blog entry…http://sticksblog.com/gear/my-current-gear/sleeping-bags/
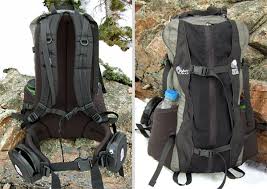
DAY PACK
Number one! A book bag is NOT a day pack for back packing. The primary reason is that a day pack is designed for back packing and carrying gear a long time and long distance. That means that it is designed for a different function and comfort level than a book bag. A day pack is also designed in sizes, short, tall, medium build. Please have a professional size the bag on you. If they don’t understand what you are asking, you are talking to the wrong sales person. I have been carrying an Osprey for about 7 years, mine is the blue pack on the right. I love it. Which does not mean there aren’t other great ones. Look for these features: side pockets for water bottles or poles, a back accessible pocket for jackets or maps, two zippable compartments; one for bigger gear, one for the little things. There should be adjustable, cushioned shoulder straps and a slightly cushioned waste belt. My waste belt has front zip pockets for a snack, smart phone, etc. This pack will be your home away from home for 10 days, so choose with care!
DAY PACK ESSENTIALS
What goes in these packs? take a look at this image, and if you want read the post associated with the image at : http://will.lyster.us/toolbox/2012/02/29/day-pack-essentials-what-should-i-carry/ .We will provide the snacks and water for the day. But this image gives you a good idea of what other items you may want to carry with you, including a pocket knife. IN addition to these items we will also be carrying sketch books, pens, jackets, socks…
DUFFEL BAG for GEAR
Put all of your gear in one of these. Does not need to be an expensive bag, just hold your gear. If you can find or afford one that is weather resistant that would be the best option. We will have limited space available for everyone’s gear, so please pack tight and light. The gear in the list above is really what you need. You could also leave some things in the car that stays in St. George while we all travel together.