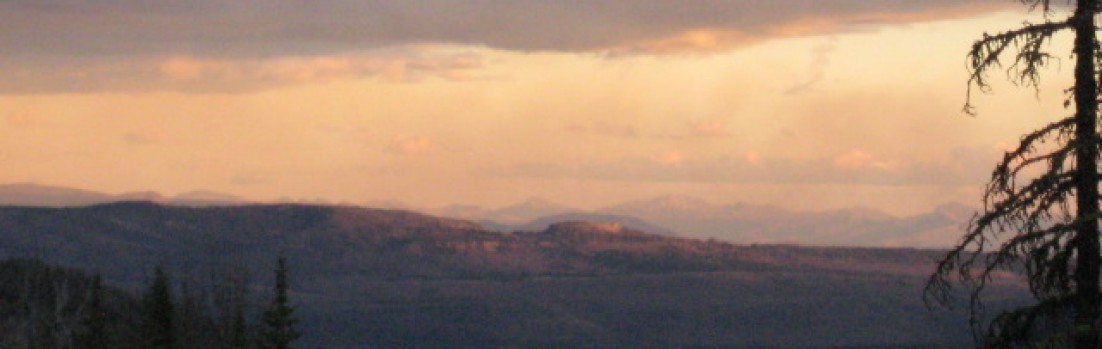

Winter is long in the Northern Rockies. And it is for this reason that Remote Studio operates in the Summer. Beyond the winter season are the glorious months in the Northern Rockies where you can hike a trail or ski a mountain slope, float a river or cycle for miles. The weather during these months is a surprise to most people who do not live here. When Summer Remote Studio begins Spring will just be transitioning to early Summer. The vegetation is vivid green, gardens are just being planted, but a quick snow could easily occur through mid-June. Be prepared for great weather changes and temperature swings.
The mountain environment is dry. Which means that there is no moisture to hold in the temperature of the day once the sun goes down. We can experience a twenty degree temperature drop as soon as the sun sets over the far mountains. It’s a beautiful and enlivening experience.
When you arrive at the first of June you can expect highs between 68-80 degrees and lows between 39-48 degrees. By the time July arrives daytime temperatures could easily be in the 90s, with lows still in the 40s.
When we travel into the back country in June we will be in higher altitudes. For these reasons it will be colder at night, expect the temperatures to drop to freezing or below. Don’t be surprised if we are hiking through snow or get snowed on while camping.
You will experience a drastic change in weather conditions and temperatures while you are at Remote Studio from June through July. To be prepared you will need both light weight insulated jacket, hat and gloves to start and shorts and sandals towards the end. Read on to learn more…..
Gear that you need for the Remote Studio:
Check this link out on the Artemis Institute website for what to bring, and learn more in this post.
http://www.artemisinstitute.org/remote-studio/items.php

GENERAL LIVING
Consider bringing only the personal things that you really can’t live without, such as that special drinking cup. If you are picky about your espresso, you will need to stop in at one of the local coffee shops.
You can bring bikes, fishing poles, anything that you would like to help you experience the out of doors. If you are musical, bring your instruments. Don’t expect a suburban lifestyle experience when you are immersed in the woods.
Bring at least one “nice” set of clothing for meetings or community dinners.
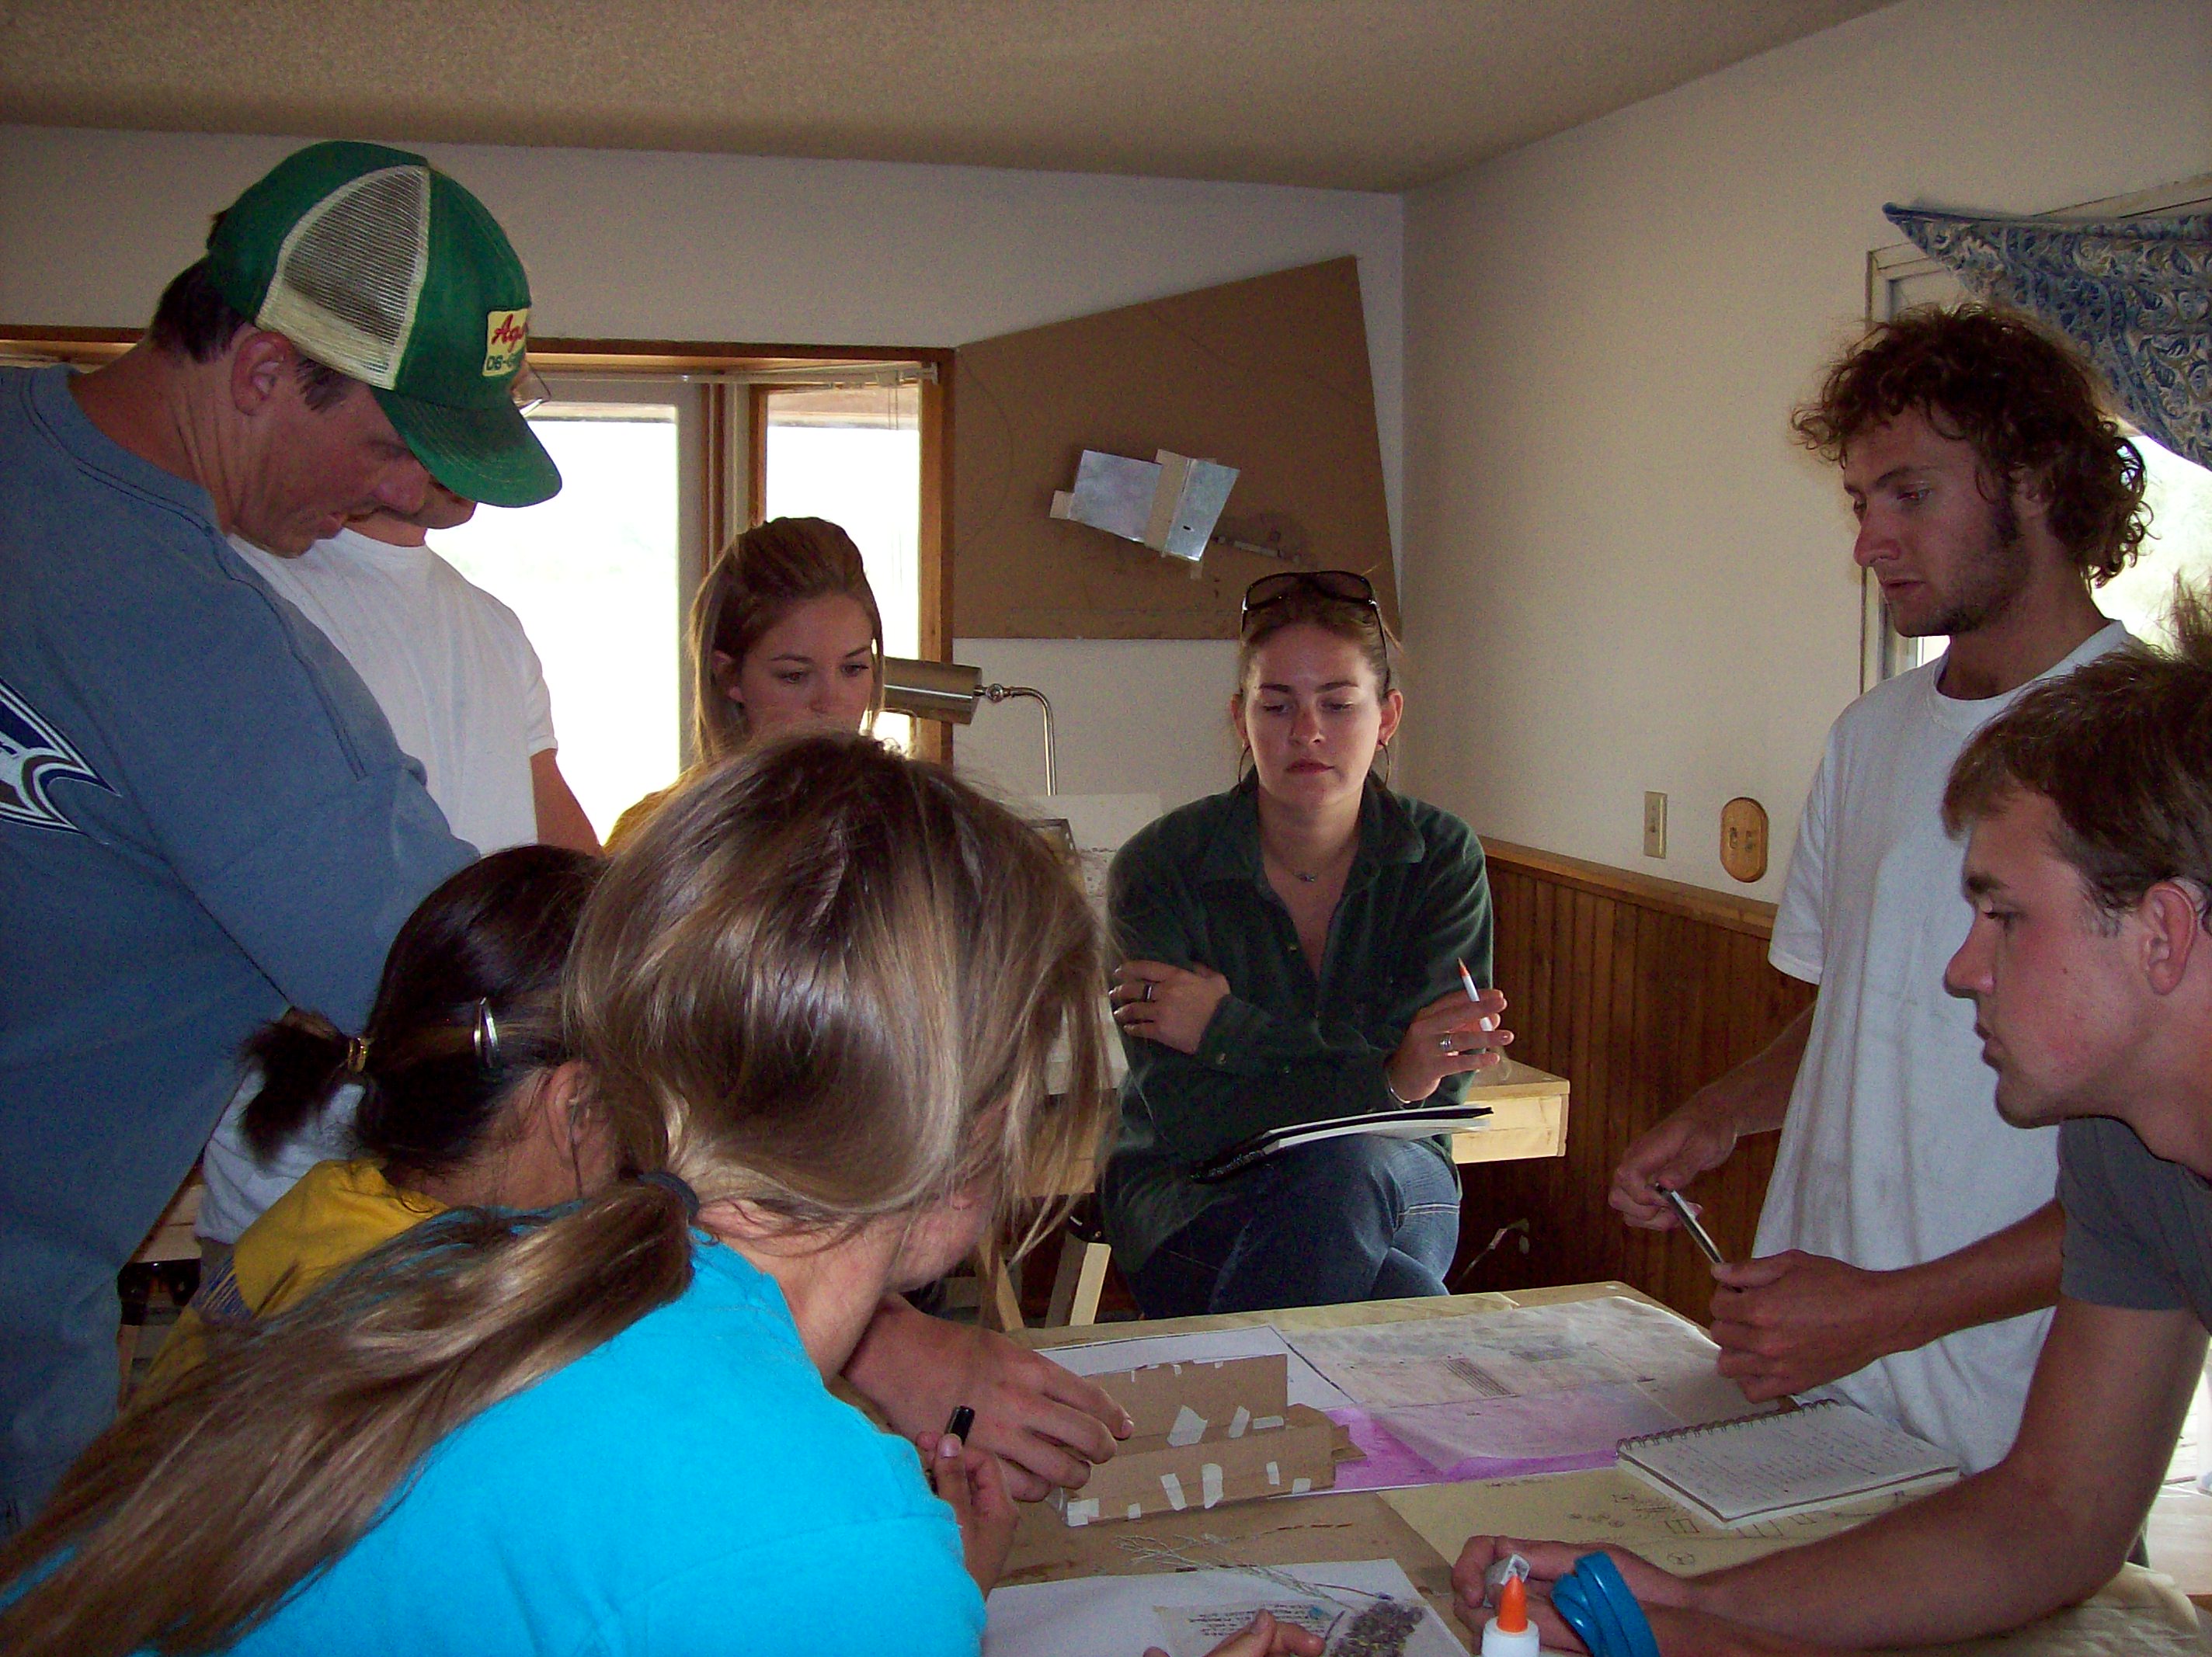
DESIGN
modeling tools and drawing tools and equipment
sketch book , pens, pencils
MSU has a student store that is well equipped with modeling materials,etc.
lap top, camera, etc….

BUILD
Your clothing will take a toll while building. Bring jeans and expect them to get a lot of wear. T-shirts, sweatshirts. Long sleeves and short. Boots, you can wear your hikers if you like. But if you have work boots I recommend you bring those. If you have rubber boots you will want those, too, if you have the room to pack them. Hats for the sun, it is very intense here in Montana. Many of the clothing items you will also wear during construction phase. We will also be encamped for the final push of the installation, and your back country gear will be used at that time as well.
As far as tools, you will need:
tool belt, 25-30′ tape measure, 1″ wood chisel, utility knife, work gloves, safety glasses, and a speed square. Please label your tools with your name. We will check that you have your tools before you can work in the shop.

BACK COUNTRY GEAR
The back country trips require the usual gear: sleeping bag, drinking cup or bottle, backpack and day pack of a sort. Good hiking boots, water shoes, rain gear, etc.
You do not need to buy a new tent, but if you have one bring it.
Below is a list of the things you will need for the back country trips. If you need more information or description on an item read through this post for the items in the list. This is our recommendation for the most comfortable . If you are in a place that has a second hand store for outdoor gear, these can be the best places to pick up many of these items at a greatly reduced price. We have a good second hand store here in Bozeman, if you want to wait for some things. We also have several great independent outdoor gear stores, and we have an R.E.I. Or you can borrow some of the gear from a friend, such as head lamps, and rain gear. But you need to know what you are looking for. If you want to read about gear you can check out this link to backpacker magazine: http://www.backpacker.com/gear-guide-2013-charts/gear/17288 or you can search for gear reviews on the internet.
- Shoes. Primary: hiking boots or hiking shoes and water sandals
- shorts
- 1 pair of light, quick dry, pants (could have zip-off legs)
- Hiking quality socks. 4 pair
- Short sleeve t-shirts
- long sleeve t-shirts, or long sleeve base layer
- 1 long sleeve light weight, quick dry, button up
- bathing suit
- rain gear. at least a jacket with hood
- hat for sun
- light to mid-weight jacket with some insulative quality
- light weight thermal base layer top and bottom
- mid-weight layers
- head lamp
- day pack
- back country pack
- sleeping bag and pad
- hiking poles (optional)
- pocket knife
- water carrier, bottles or bladder
- thermal mug
- bear spray

YOUR HEALTH
As is noted on the Artemis Institute website, hiking in the backcountry is an aspect of the educational program for Remote Studio. Being capable of hiking 10 miles with a backpack on – in your hiking boots -is part of this aspect. Such a requirement is no small detail. There is no reason to be concerned about the hikes if you prepare. Better to prepare now than be in pain, and slow – when we are out in the wilderness.
We will be hiking at 7000-10000 feet above sea level. Training for this condition is almost certainly required. So what should you do to prepare? Cardio and strength training. You can train for this activity in one task, if you choose. Put your pack on – add a bit of weight (5 pounds, maybe) and go out and hike at an elevated speed to get your heart rate up. Keep your heart rate up for about 15 minute, then slow down and walk casually for a while. Then repeat the activity. Repeat a few times. Then the next day add another cycle of accelerated heart rate, until you are hiking a 2 hour sequence with about 20 pounds of weight in your pack. Or you could go to the gym. Wear your pack, get on a treadmill with adjustable “slope” and add some incline. Or program the incline for a variable. Use the treadmill for about 20 minutes at a time. You can also speak to a trainer at your gym about “core” strength training. The biggest challenge, besides the hiking is having your “core” strong enough for the weight of the pack.
If we determine that you are not prepared with boots or capable of hiking at a reasonable pace with the group (this detail is a safety condition) we will find an alternative assignment for you during these events.
Following is a description of the gear and an explanation for their use:


SHOES
We will be on our feet a lot, and in various terrain and conditions. You can certainly take the trip in one pair of shoes, but I do not recommend it. Read on to understand the strategy:
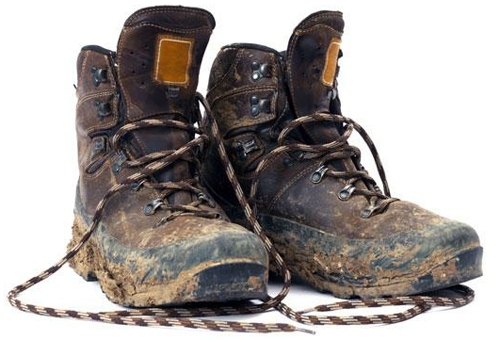
Hiking Boots/Shoes: The choice or low hikers or taller boots is up to you. Here are some considerations: If you have weak ankles you want a taller boot for support over the length of hike. You may also want taller boots to protect you from debris getting into your boots or scratching your ankles. However, if these issues don’t concern you than a shoe type hiker could work. Look for brands such as Garmont, Vasque, Oboze, or Merrell if you are buying new. Please break in your shoes before you come so that you know your shoes fit and you will not get blisters. Make sure you put some real miles on the boots, at least 4-5 after they are broken in. Take the shoes outside and try to find some terrain to walk on. You will not know if the boots really fit until your feet sweat and swell in the boots.
We cannot stress enough how important it is that your hiking boots be broken in. So if you are buying new ones, get them now. Put them on your feet and wear them everywhere. Wear them with your hiking socks, always. The best break-in would be something like this: day1; wear on errands day2: wear on more errands and a short walk (25-20 minutes) day 3: take a 2 mile hike in them day 4 or 5 or 6 take a hike of 4-6 miles.
If your boots are not broken in you will get blisters on the first hike, the second day of the program. Not a fun thing-can be ugly. Don’t wait until you are here to think that you can break in your boots.
Hiking Sandals: Simply put, you may want to have a different pair of shoes to wear. And for some people, when on developed trails, hiking in sandals is a nice change, but NOT when you are hauling a pack.
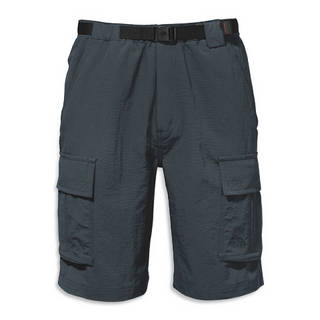
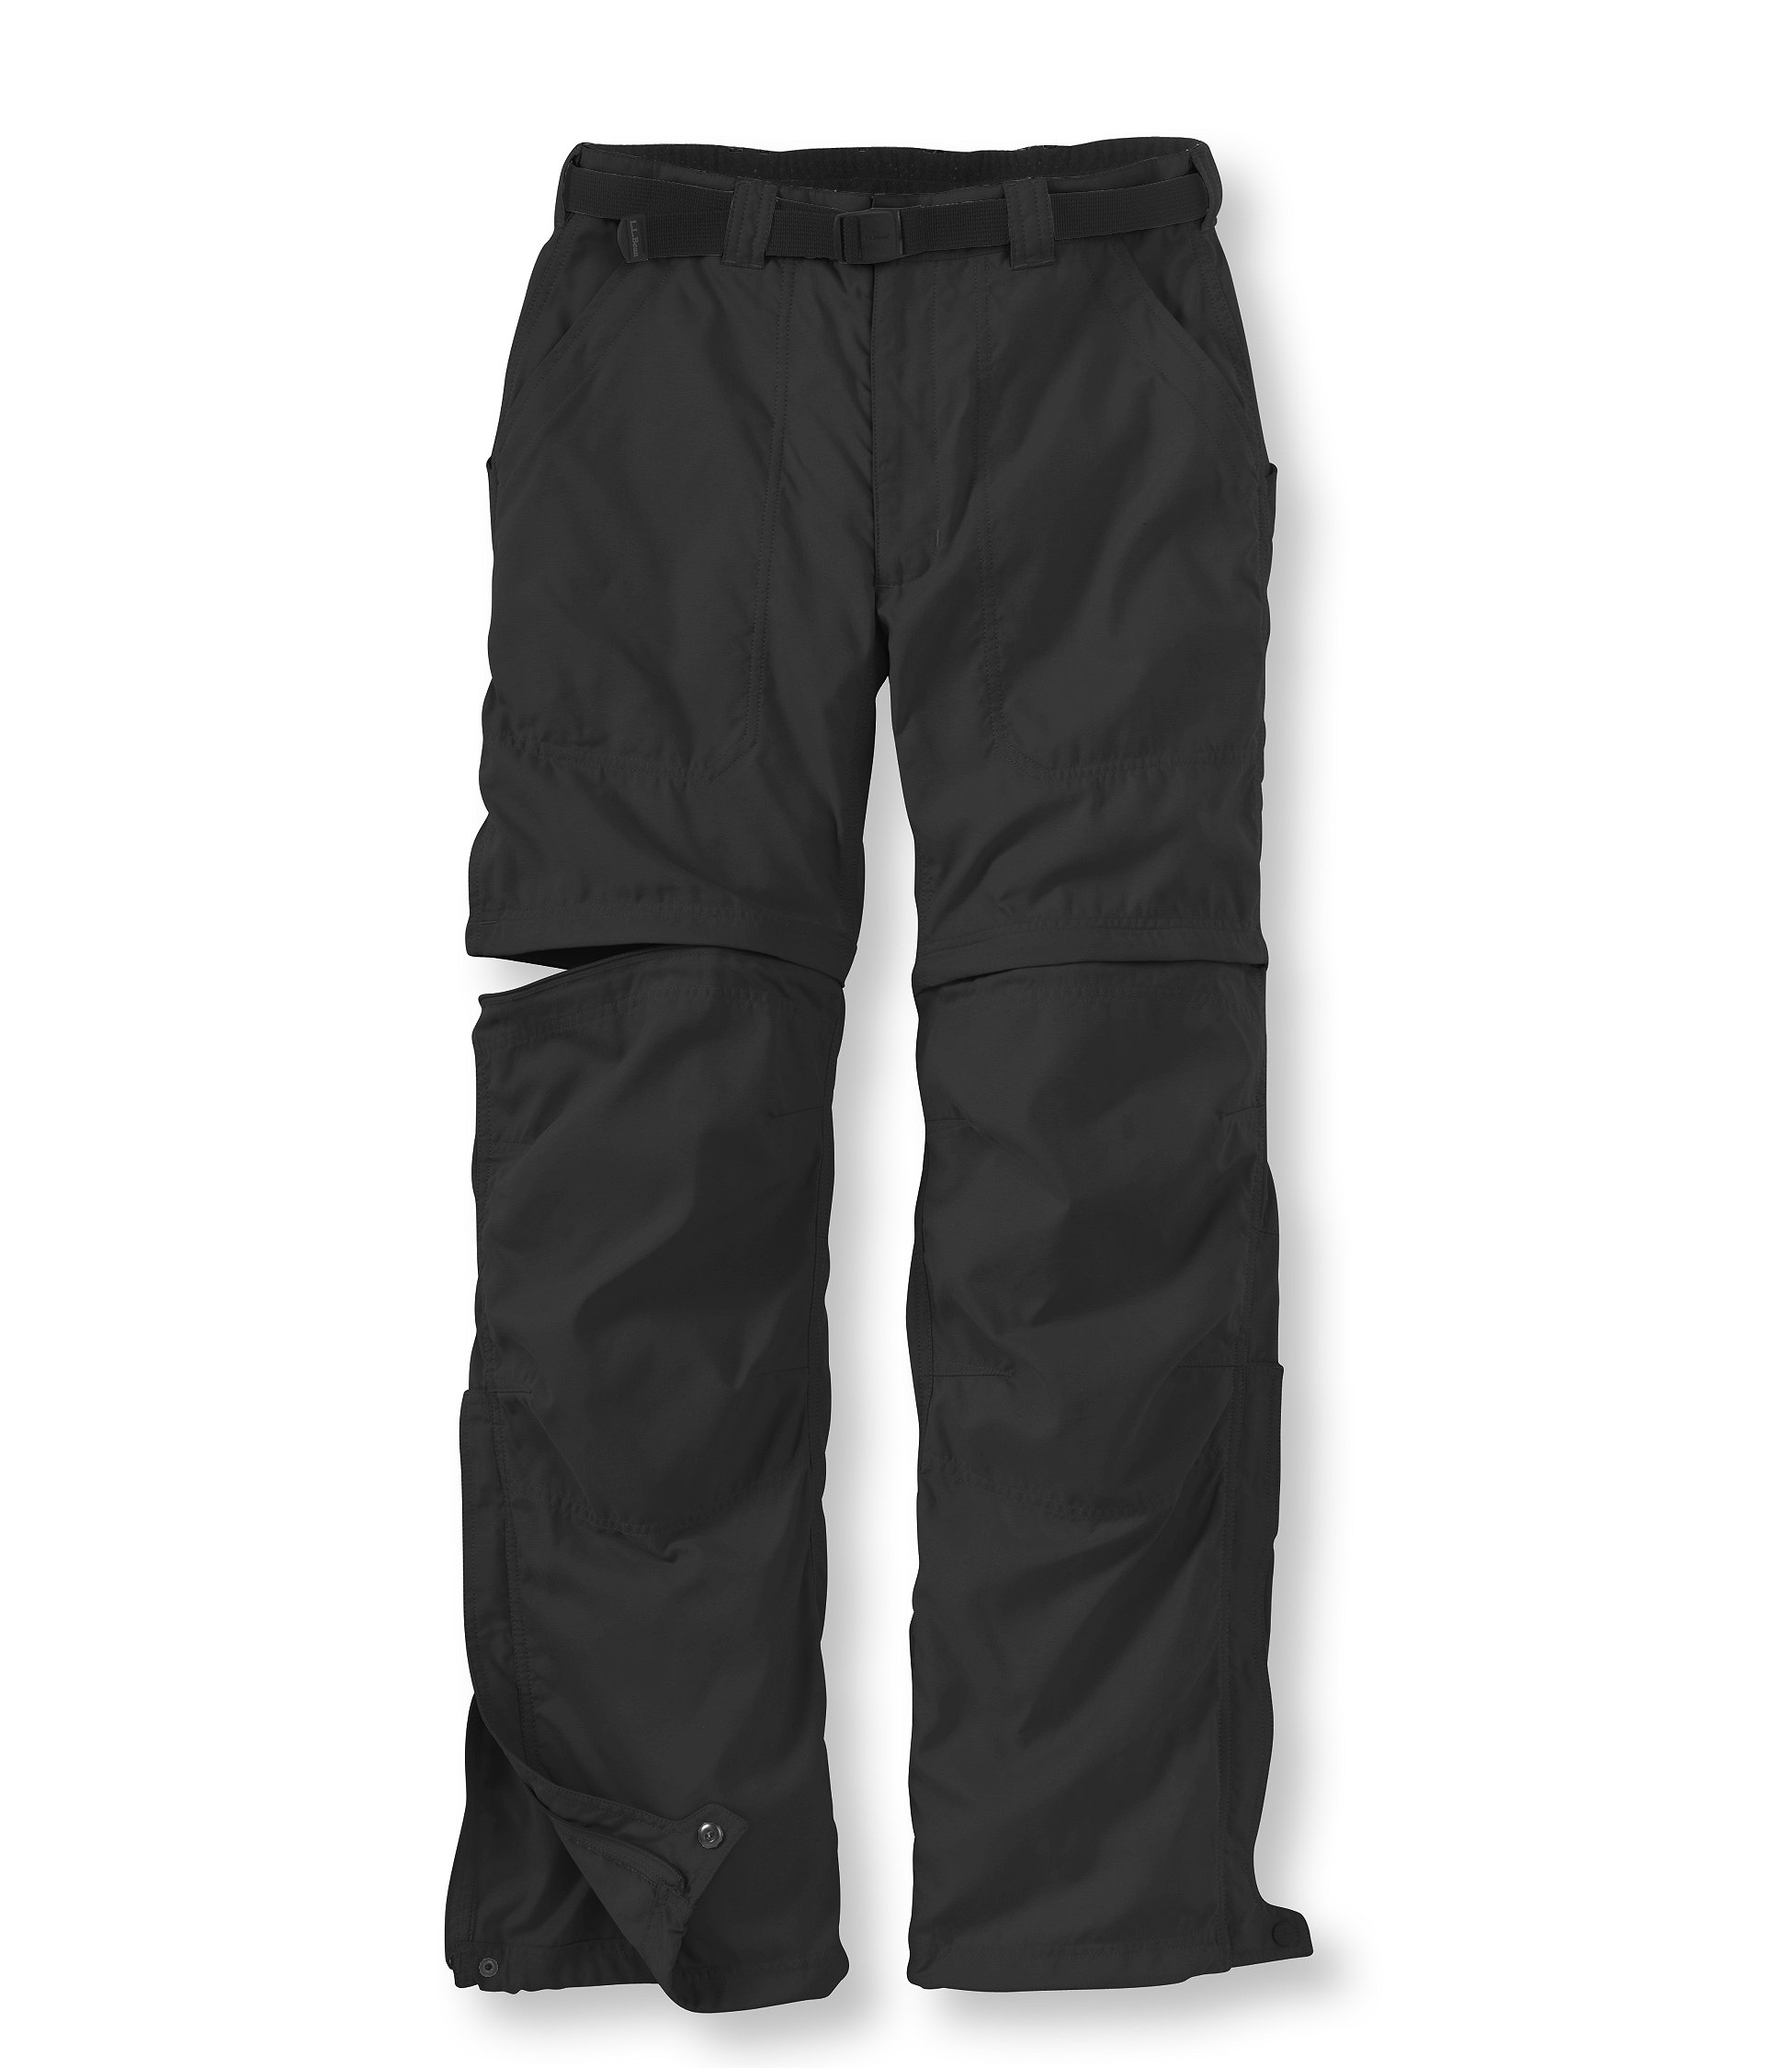
SHORTS AND PANTS
We recommend that you have lighter weight, quick drying shorts. You can double up if you want and buy a pair of pants that have zip off legs. These are great in changing weather conditions. Or bring 2-3 pair shorts and one pair of pants. There are even hiking skirts (ladies) if you prefer. Quick dry is valuable not only for wearing in changing weather conditions, but also to dry quickly if you are sweating or after being washed by hand. Denim is NOT recommended for the trail for the reasons mentioned above. They are heavy, thick, hot and take a long time to dry. Save them for the job site and hanging out. Brands to look for include Columbia, North Face, and Patagonia.


HIKING SOCKS
There are socks and then there are hiking socks. Normal “athletic” socks are not durable and do not have the reinforcing that a hiking sock has. Hiking socks cost more but last longer. They are developed to work on the trail and be comfortable for miles. Typically made from a wool or other wicking fabric, while athletic socks are cotton and stay wet once you sweat in them. Bring at least 3 or 4 hiking socks and bring the best socks you already have. Brands to look for: Smart Wool, Thorlo.
Liner socks: If you are prone to blisters, or have never hiked a lot, I recommend 1-2 pair of sock liners. These are light weight socks and they allow your feet to move freely within the shoe without rubbing blisters onto your feet. (see the image above, to the right).
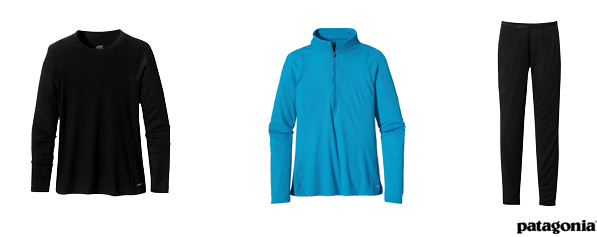

T-SHIRTS AND BASE LAYERS
Being prepared and dressed well for the weather in Montana requires layering. When we are hiking we will start the day in cool weather and within a few hours it will be quite warm, and the weather conditions could shift during the day. The base layer is the one closest to your body. In this instance it could be a short sleeved cotton t-shirt (or tank top) or a light weight thermal. I recommend one pair of base layer top and bottoms for the cooler nights. Brands to look for: Patagonia, L.L. Bean, Columbia.

MID-WEIGHT LAYER
This is what we typically recognize as Fleece. You probably have something that will work. But don’t use a sweatshirt for the backcountry, they are typically cotton and like, denim, heavy and difficult to dry quickly. If you prefer, you could bring a quilted jacket, as described below, and may not need the mid-weight layer. This choice should be made when thinking about how cold you could get in the early morning or evening in close to freezing temps. Think about layering….

RAIN GEAR
I cannot say enough how valuable a hooded rain jacket will be for Montana. Rain gear could make a considerable difference in happiness and health. I do not recommend a cheap jacket. I have watched a participant’s gear shred off them during a hike because they brought cheap “plastic” rain gear. It is best to have a jacket that is more water proof than less water proof (or more breathable) because if we actually need the gear we will need it to STAY DRY and WARM. (If we are in a light rain, the sun will come out and we will dry quickly.) The hood is critical in the instance we need to stay dry. These jackets also work well as a wind shell. This jacket can also serve as your outer layer over a mid-weight thermal, providing the best warmth in the morning and evening, I am not convinced you will need rain pants. Usually the quick-dry pants work well enough. But if you have some, and they fit in your bag, why not bring them.want to learn more: http://www.outdoorgearlab.com/Rain-Jacket-Reviews Brands to look for: Columbia, Mountain Hardware, Marmot.


INSULATING JACKET
There are a few different types of light to mid-weight jackets. One is more of a shell that has some wind-stopping capabilities and rain repellant. The other is quilted, very light weight and is either down filled or primaloft. (Sometimes these are caller down sweaters.) Either can be full zipped or half zipped. I prefer the quoted type because it can be an outer layer or be worn below your rain jacket it is it cold, wet and rainy. But the choice is yours, and may depend on what you already have. Brands: Marmot, Patagonia, North Face.

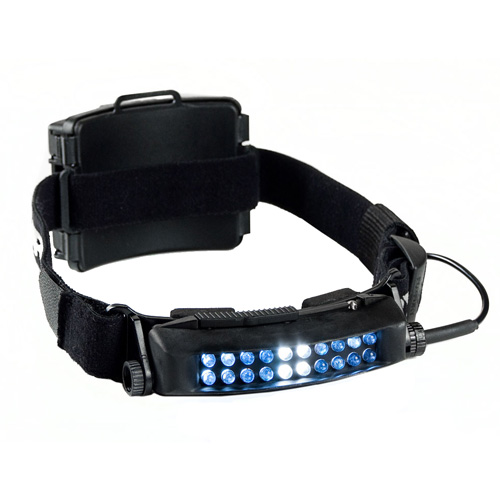
HEAD LAMP
Head lamps are better than flash lights because they leave your hands free. And if we need to hike in the dark, or cook in the dark (always be prepared for an emergency and the unexpected) a head lamp more easily lights the way.
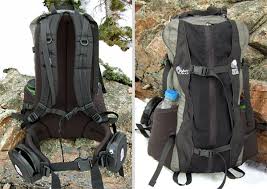

DAY PACK
Number one! A book bag is NOT a day pack for back packing. The primary reason is that a day pack is designed for back packing and carrying gear a long time and long distance. That means that it is designed for a different function and comfort level than a book bag. A day pack is also designed in sizes, short, tall, medium build. Please have a professional size the bag on you. If they don’t understand what you are asking, you are talking to the wrong sales person. I have been carrying an Osprey for about 7 years, mine is the blue pack on the right. I love it. Which does not mean there aren’t other great ones. Look for these features: side pockets for water bottles or poles, a back accessible pocket for jackets or maps, two zippable compartments; one for bigger gear, one for the little things. There should be adjustable, cushioned shoulder straps and a slightly cushioned waste belt. My waste belt has front zip pockets for a snack, smart phone, etc. This pack will be your home away from home for 10 days, so choose with care!

PACK ESSENTIALS
What goes in these packs? take a look at this image, and if you want read the post associated with the image at : http://will.lyster.us/toolbox/2012/02/29/day-pack-essentials-what-should-i-carry/ This image gives you a good idea of what other items you may want to carry with you, including a pocket knife. In addition, to these items on day hikes we will also be carrying lunch, jackets, socks, sketch books, pens…


BACKPACKING PACK
A backpacking pack is also designed in sizes, short, tall, medium build. Please have a professional size the bag on you. It is critical that the waste belt be quilted and sit on your hip bones. “load lifter” straps are a key sign to selecting a pack that is well designed. If the salesperson does not understand what you are asking, you are talking to the wrong salesperson. I have been carrying an Osprey for about 7 years, mine is I love it. Which does not mean there aren’t other great ones. Carrying a pack that is specific to your sex is an important comfort choice because they are designed to the frame of a man or women (a women’s shoulders are more narrow.) The one I carry which has been great for 1-3 nights is an Ariel 75. The men’s version of the Ariel is the Xenith, which is also a 75 liter bag. This has been the perfect size for getting my tent and my sleeping bag inside the pack, and having room for cool weather gear. Look for these features: removable top zipper pouch to use as a secondary smaller pack, a bottom zip compartment for your sleeping bag (its best if your sleeping bag fits inside, side pockets for water bottles or poles, a back accessible pocket for jackets or maps, two zippable compartments; one for bigger gear, one for the little things. There should be adjustable, cushioned shoulder straps and a cushioned waste belt. The waste belt should fit at your hip bones. You will need to be able to attach your bear spray to the waste belt so that it is accessible, not a detail to be missed.
Stay tuned for more blogs about your Remote Studio Experience…..